Step 1. 실습용 파일 생성하기
먼저 실습 폴더인 nginx-lab에서 다음 명령어를 실행하여 새로운 실습용 디렉토리를 생성한다.
mkdir -p html/images ; mkdir -p html/docs
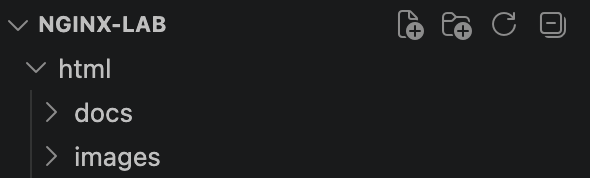
그리고 다음과 같은 내용의 파일을 생성한다.
html/index.html
<!DOCTYPE html>
<html lang="ko">
<head>
  <meta charset="UTF-8">
  <meta name="viewport" content="width=device-width, initial-scale=1.0">
  <title>Nginx Lab</title>
</head>
<body>
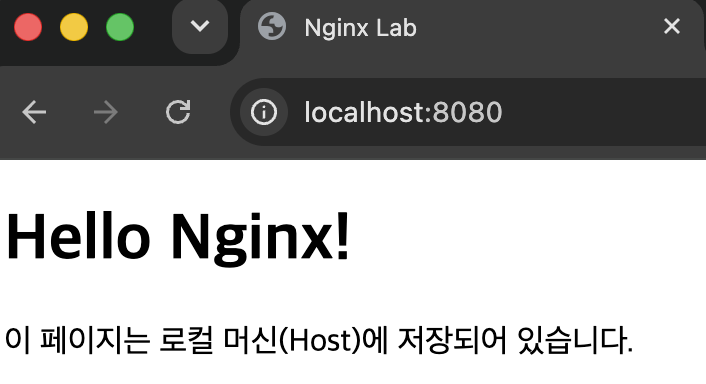
  <h1>Hello Nginx!</h1>
  <p>이 페이지는 로컬 머신(Host)에 저장되어 있습니다.</p>
</body>
</html>
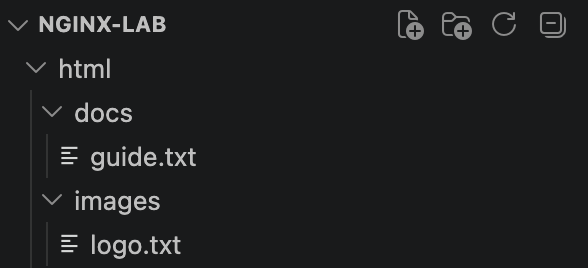
html/images/logo.txt
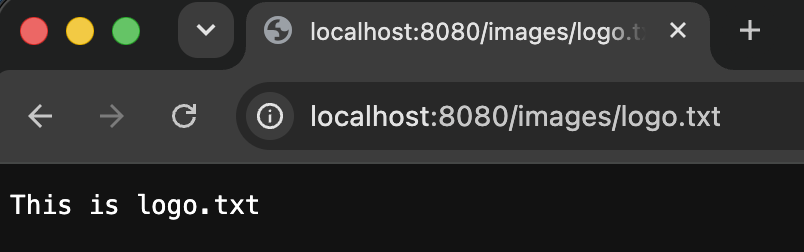
This is logo.txt여기서 이미지 파일 대신 텍스트 파일을 사용하는데 실습 목적이 이미지 파일을 다루는 것이 아니라 URL과 파일 경로의 관계를 이해하는 것이기 때문이다.
html/docs/guide.txt
This is guide.txt
Step 2. nginx.conf 수정
nginx/nginx.conf 파일을 아래와 같이 수정
events {}

http {
    server {
        listen 80;

        root /usr/share/nginx/html;
        index index.html;

        location / {

        }
        location /images {

        }
        location /docs {

        }
    }
}
Step 3. 컨테이너 실행 후 하나씩 요청해보기
docker run -d \
--name my-nginx \
-p 8080:80 \
-v $(pwd)/html:/usr/share/nginx/html \
-v $(pwd)/nginx/nginx.conf:/etc/nginx/nginx.conf \
nginx
브라우저에서
http://localhost:8080/로 접속하면
그 다음
http://localhost:8080/images/logo.txt로 접속하면
그 다음
http://localhost:8080/docs/guide.txt로 접속하면
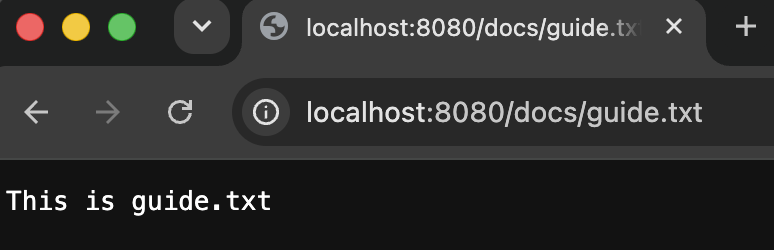
모두 정상적으로 동작하여 작성한 문자열이 출력되는 것을 볼 수 있다.
그런데 여기서 "각 location 블록이 비어 있는데 어떻게 정상적으로 동작하지?" 라는 의문이 들 수 있다.
그 이유는 server 블록에 root와 index를 작성하여 모든 location이 이 설정을 상속하기 때문이다.
Step 4. 브라우저의 요청에 대한 Nginx의 동작 과정 이해하기
예를 들어,
브라우저가 Nginx에
GET /images/logo.txt를 요청하면 Nginx는
GET /images/logo.txt

↓

location 선택

↓

location /images

↓

root

/usr/share/nginx/html

↓

실제 파일 (root 경로 + 요청 URI)

/usr/share/nginx/html/images/logo.txt
위와 같은 과정을 거친다.
즉,
location은 요청 URL을 기준으로 선택되고,
root는 실제 파일을 찾기 시작하는 기준 디렉터리이다.
(root 경로) /usr/share/nginx/html + (location 경로, 요청 URL) /images/logo.txt = /usr/share/nginx/html/images/logo.txt
'개발 > Docker' 카테고리의 다른 글
| [Docker] Dockerfile (0) | 2026.08.10 |
|---|---|
| [Nginx] alias 설정 (0) | 2026.08.10 |
| [Docker] Nginx 설정 파일인 nginx.conf 이해하기 (0) | 2026.08.06 |
| [Docker] Volume Mount 실습 (0) | 2026.08.06 |
| [Nginx] Docker로 Nginx 실행하기 (0) | 2026.08.05 |